How To: Use TELNET To Send Emails
This is a simple guide going over how telnet can be used to send emails. This can be helpful for many different troubleshooting activities such as seeing if the server is setup correctly etc. Another benefit of doing this is that it helps in understanding the various process that are undertaken which normally would happen in the background.
Step 1:
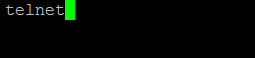
The first step is to enter the telnet command inside of a terminal in order to create a session.
Command: ‘telnet‘
Step 2:
Once you have started a telnet connection you will need to connect to the mail server.
Command: ‘o domain 25‘
In the command above replace domain with the name of the mail server that you are trying to connect to.
Response code / message: Trying #.#.#.#… > connected to domain > 220 Server Welcome Message
The response code that is sent by the server means that it is ready to start taking requests.

Step 3:
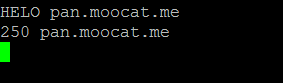
After you have connected you now need to identify yourself.
Command: ‘HELO name‘
Replace name with the domain or ip that you are sending from. In this case the server is sending a message from itself which why they are the same.
Response code / message: 250-domain
Step 4:
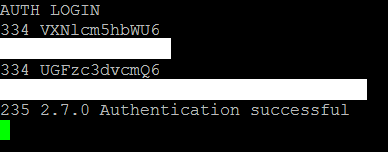
The next step is to login to the server.
Command: ‘AUTH LOGIN‘
Response code / message: 334 Base64 encoded prompt for a username / password
Before being able to send the username you must first encode it with base64 which can be done with this tool. After sending the username you will then be prompted to send the password which also has to be encoded with base64.
Response code / message: 235 2.7.0 Authentication successful
Step 5:
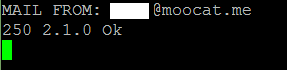
Now that you are logged into the mail server you must now state who the email will be sent from.
Command: ‘MAIL FROM: address‘
Where address is the email address that you will be sending the message from. If the address stated is not allowed to send messages under your account then this will result in an error.
Response code / message: 250 2.1.0 Ok
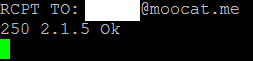
Step 6:
You must now tell it where to send the message.
Command: ‘RCPT TO: address‘
Where address is the email address that you want to send the message to.
Response code / message: 250 2.1.5 Ok
Step 7:
Before you are able to add content to the message we must pass the following command.
Command: ‘DATA‘
Response code / message: 354 End data with < CR>< LF>.< CR>< LF>

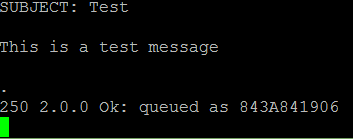
Step 8:
The message subject and body can now be added.
Command: ‘SUBJECT: text‘
Replace text with the subject title that you want or skip this line if you don’t want the message to contain a subject. If you have chosen to add a subject you must now ensure that there is a line between it and the body by pressing enter / return.
Command: ‘text‘
Replace text with the text that you want to appear in the body of the message. Once you have done this press enter / return to add a new line then add ‘.’ now hit enter / return again in order to send the message.
Response code / message: 250 2.0.0 Ok: queued as ####
Step 9:
You are now able to close the connection.
Command: ‘quit‘
Response code / message: 221 2.0.0 Bye

The full transaction should look something like this:
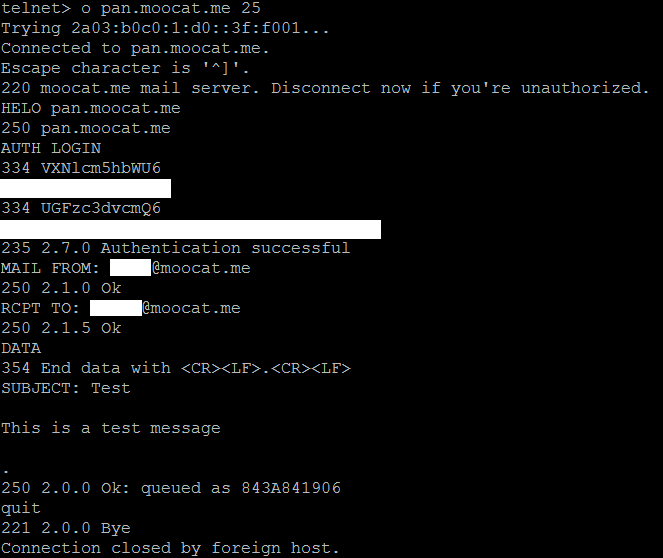
*Note that some of the response codes / messages may look slightly different on the server that you are using.